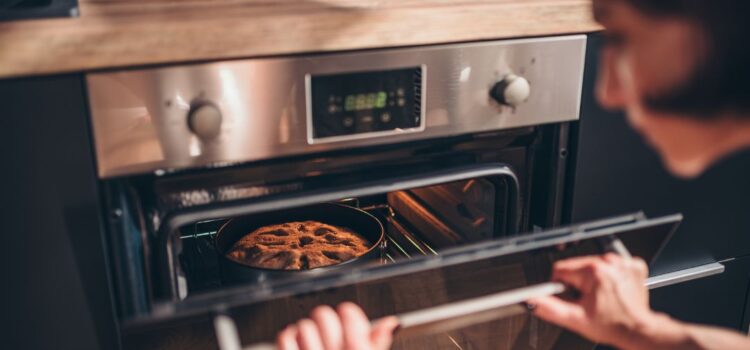
When it comes to DIY household repairs, there’s a special kind of satisfaction that comes from fixing something as fundamental as your kitchen oven. If your oven needs help reaching the correct temperature or if your baked goods are coming out unevenly cooked, the temperature sensor might be the culprit. But fear not—we’re here to guide you through the process, making it easy and manageable, even for non-experts! So, grab your tools and let’s get started on this appliance-saving adventure!

Ovens Temperature Sensor

Understanding the Oven Temperature Sensor

An oven’s temperature sensor plays a critical role in ensuring that your cooking attempts are a success. This essential component is responsible for monitoring the temperature inside the oven cavity and relaying vital information to the control board, allowing it to maintain the ideal heat level for your culinary creations. By detecting fluctuations in temperature and transmitting electrical signals to the control board, the sensor enables the oven to make real-time adjustments to its heat output. However, if the temperature sensor experiences a malfunction, it can result in inaccurate temperature readings and ultimately lead to uneven cooking outcomes.

Signs of a Faulty Temperature Sensor

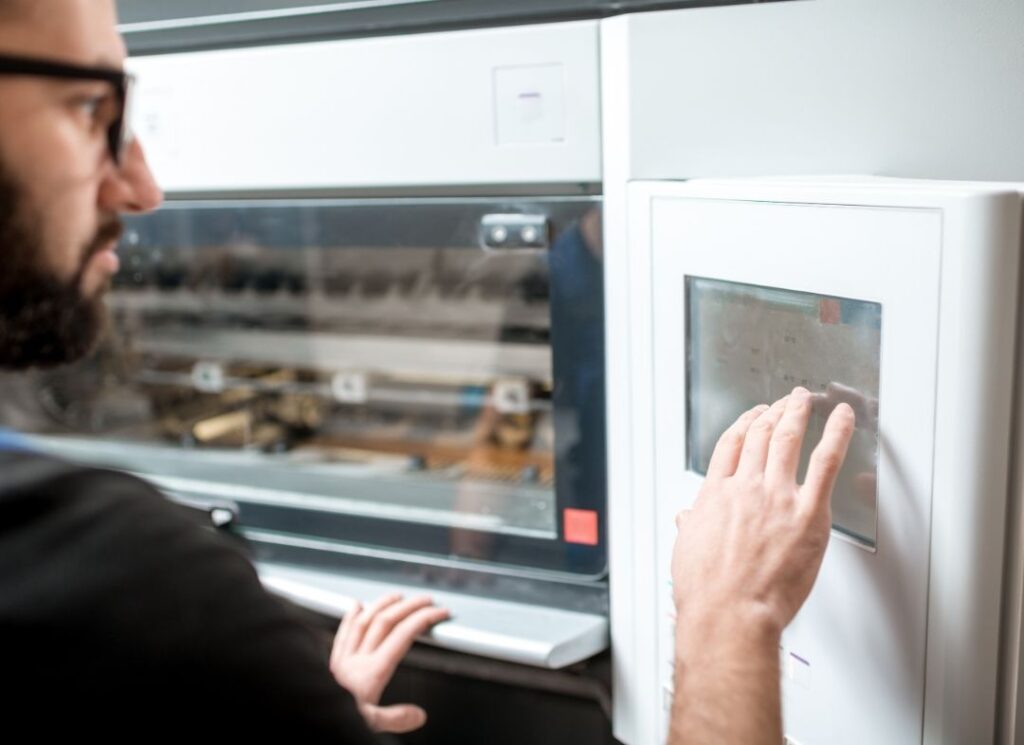
If your oven temperature seems to fluctuate widely, you may experience inconsistent cooking results, which can be frustrating when trying to prepare your favourite dishes. Additionally, if your food takes longer or shorter to cook than the recipe suggests, it could indicate a potential issue with the temperature sensor. Uneven heat distribution may also become evident when the exterior of your baked goods is overdone while the inside remains undercooked, highlighting the importance of a properly functioning sensor. Moreover, if you notice error codes on the oven display related to temperature regulation, this could be a clear signal of a malfunctioning sensor that needs attention. Here’s a quick checklist of signs you need to replace your oven’s temperature sensor:

food temperature
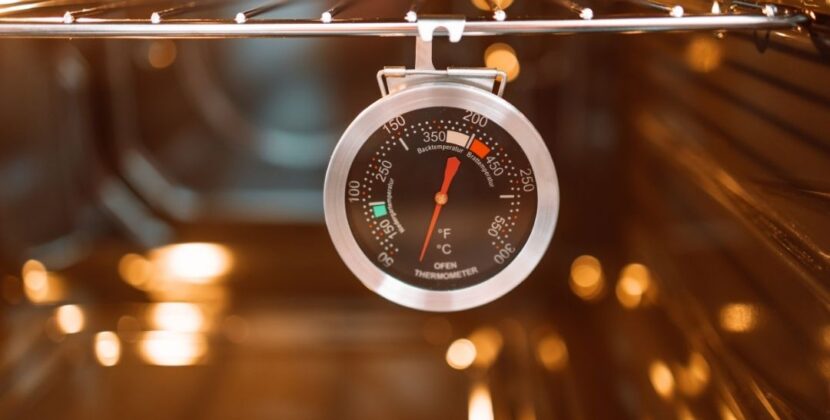
  • Inaccurate Temperature Readings: When the oven heats to 350°F but displays 250°F, your sensor may be the culprit.
  • Long Cooking Times: If recipes take longer than usual, your oven’s actual temperature might be off.
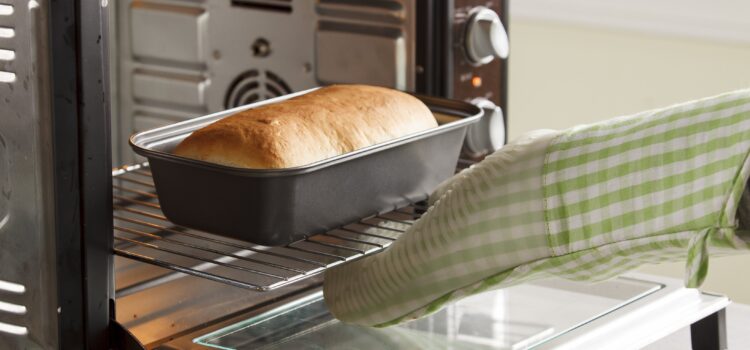
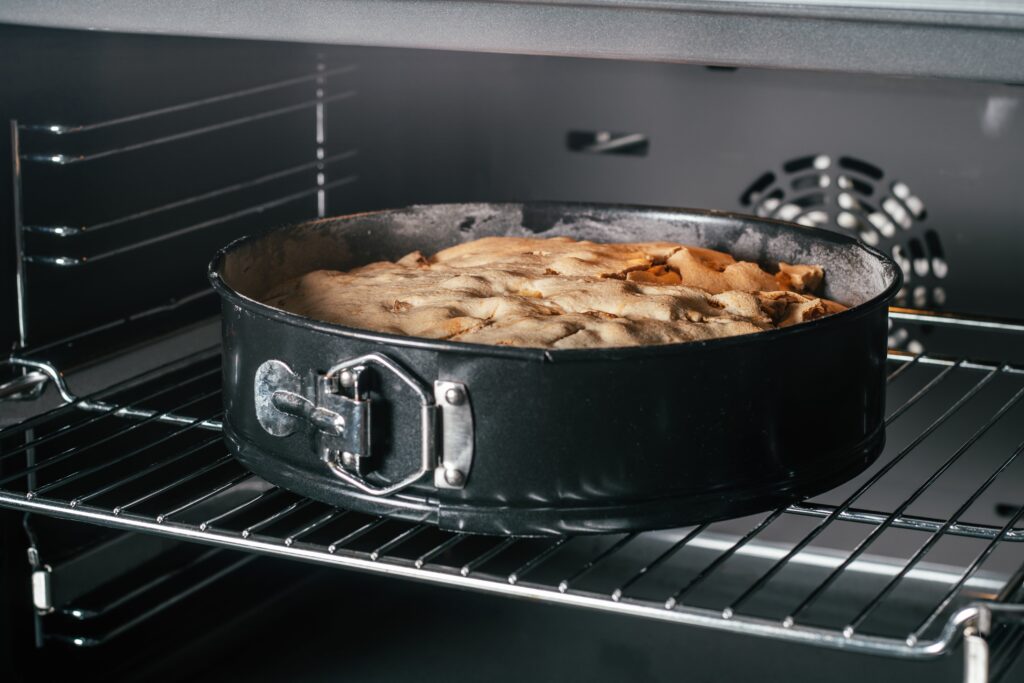
  • Inconsistent Baking: One side of your oven-baked goods is lighter or darker than the other, indicating uneven temperatures.
  • Errors in Self-Cleaning Feature: If your oven doesn’t enter self-cleaning mode due to temperature errors, it could be misreading the sensor.

If you spot these issues, it’s time to replace your oven’s temperature sensor.

Tools and Materials Needed for Replacement

The first step to any DIY project is assembling your materials. For this job, you’ll need:

  • The model number of your oven
  • A replacement temperature sensor (ensure it is compatible with your oven)
  • Needle-nose pliers
  • Screwdriver (flathead or Phillips, depending on your oven model)
  • A multimeter for testing electrical connections (optional but recommended)

Read More: 7 Tips to Maintain Your Gas Oven and Prevent Leaks

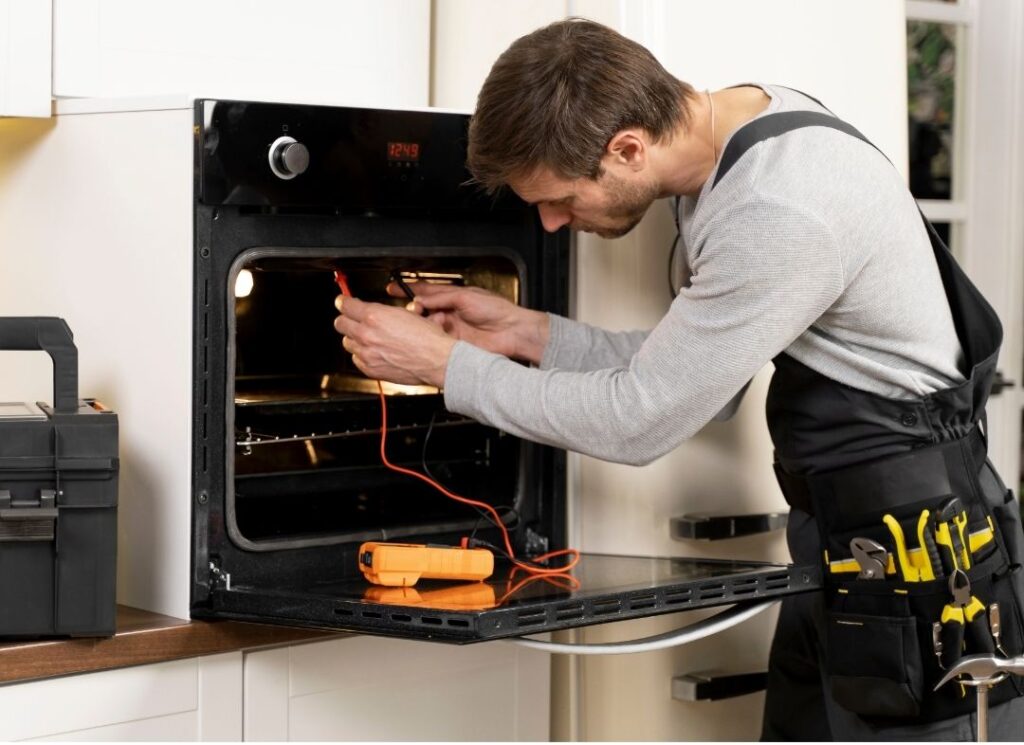
Step-by-Step Guide to Replacing the Oven’s Temperature Sensor

Safety First

Always unplug your oven or turn off the circuit breaker before beginning to work on any electrical components. Also, ensure the oven is cool to the touch before you start.

Access the Sensor

The sensor is typically located at the back of the oven. Most ovens will require you to remove one or more panels within the oven to access the sensor.

Removing the Old Sensor

Once you’ve located the sensor, you’ll see where it connects to the oven’s wiring. Disconnect the electrical connector (some sensors plug into the oven, while others are wired directly with wire nuts). Then remove any screws holding the sensor in place inside the oven. It should easily slide out from the inside.

repair

Installing the New Sensor

Slide the new sensor through the hole in the back of the oven and screw it into place. Reconnect the electrical wiring according to your oven’s instructions (consult your manual if needed).

Double-Check Before You Reassemble

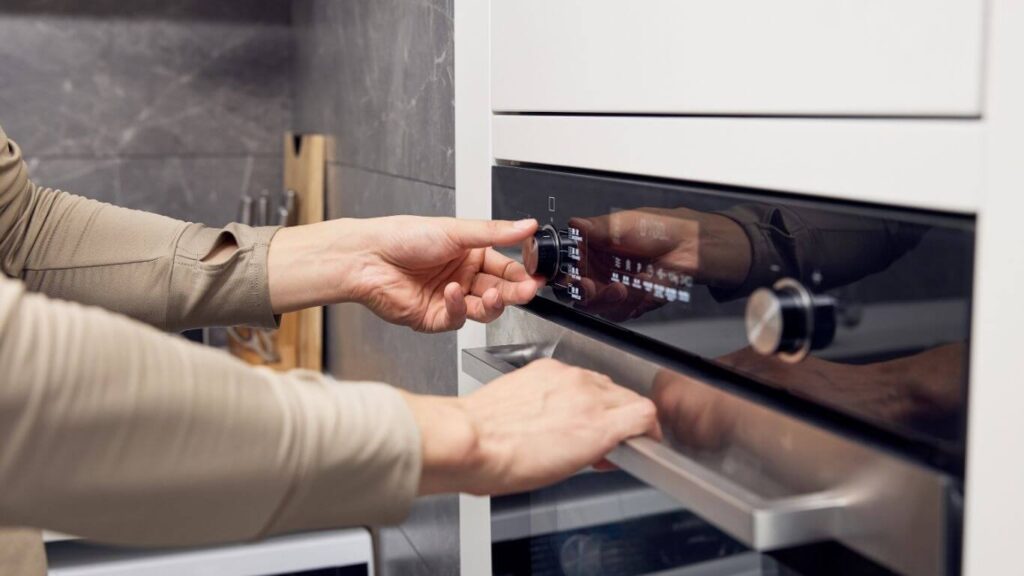
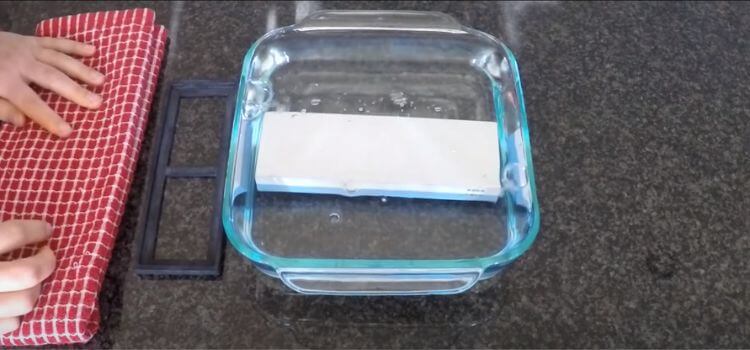
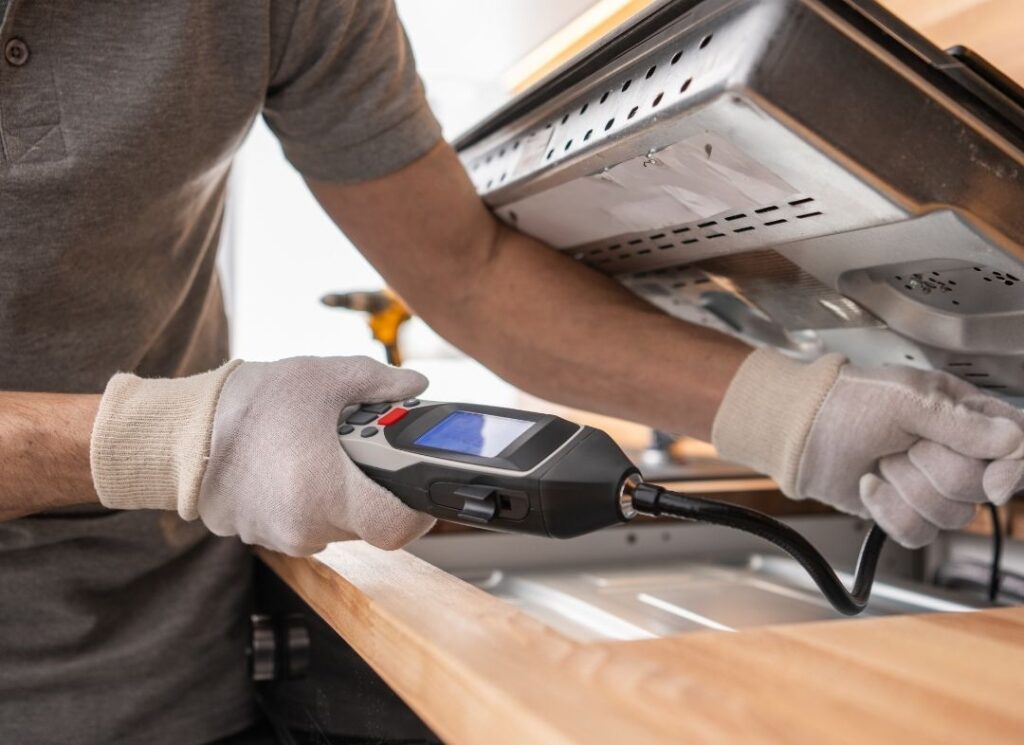
Switch the power back on, and with the oven door closed, turn the oven on to a low temperature to ensure the sensor warms up. Use a multimeter to check the new sensor’s resistance, comparing it to the manufacturer’s specifications. The multimeter will verify that the sensor is sending the correct data to the oven control board.

Complete the Repair

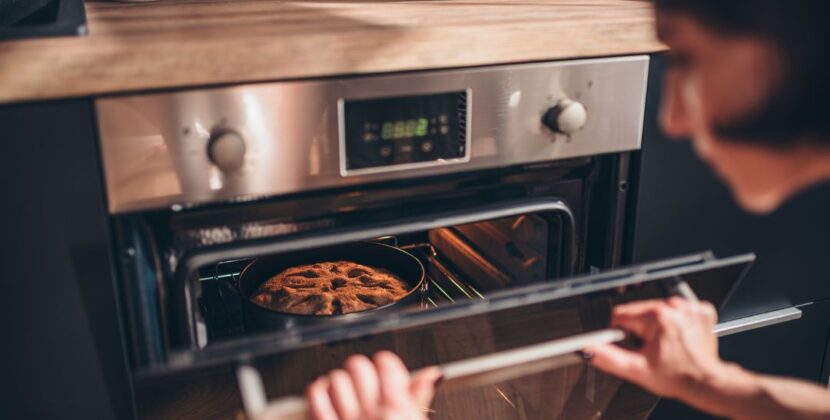
After you’re satisfied with the replacement, put the oven’s inside back together and test it at different temperatures to make sure it warms up correctly.

recheck

Benefits of DIY Replacement

There’s more to gain from tackling this project than simply saving on a service call. Replacing your oven’s temperature sensor yourself can:

  • Save Money: The cost of the sensor itself, even if it’s high-quality, is significantly less than a repair technician’s time and labour.
  • Boost Confidence: Successfully completing a repair like this can instil confidence in your DIY skills and lead you to tackle more complex home improvement projects.
  • Improve Oven Performance: A new temperature sensor can bring your oven back to its original, reliable temperature precision, which is invaluable for home cooks and bakers.

Conclusion

The oven temperature sensor may be small, but its role in the kitchen is enormous. By replacing this essential part yourself, you not only save on costs but also become more knowledgeable about your appliances and how to maintain them over time. Remember, when attempting a DIY repair, the most crucial tool you have is patience. Take your time, follow each step carefully, and you may find that your oven is better than before – all thanks to your newfound expertise in oven technology! Happy DIYing and even happier (and tastier) baking.

FAQs

Symptoms of bad oven temperature sensor

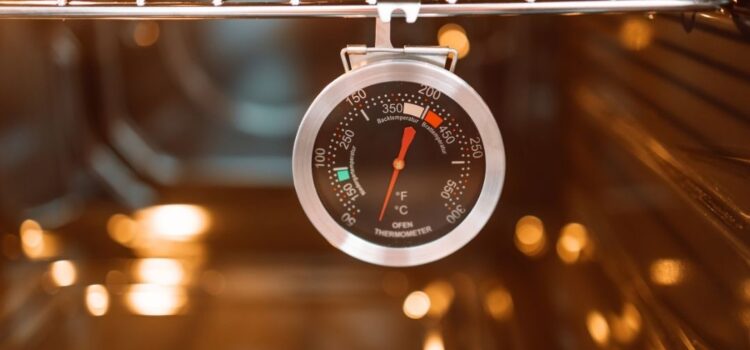
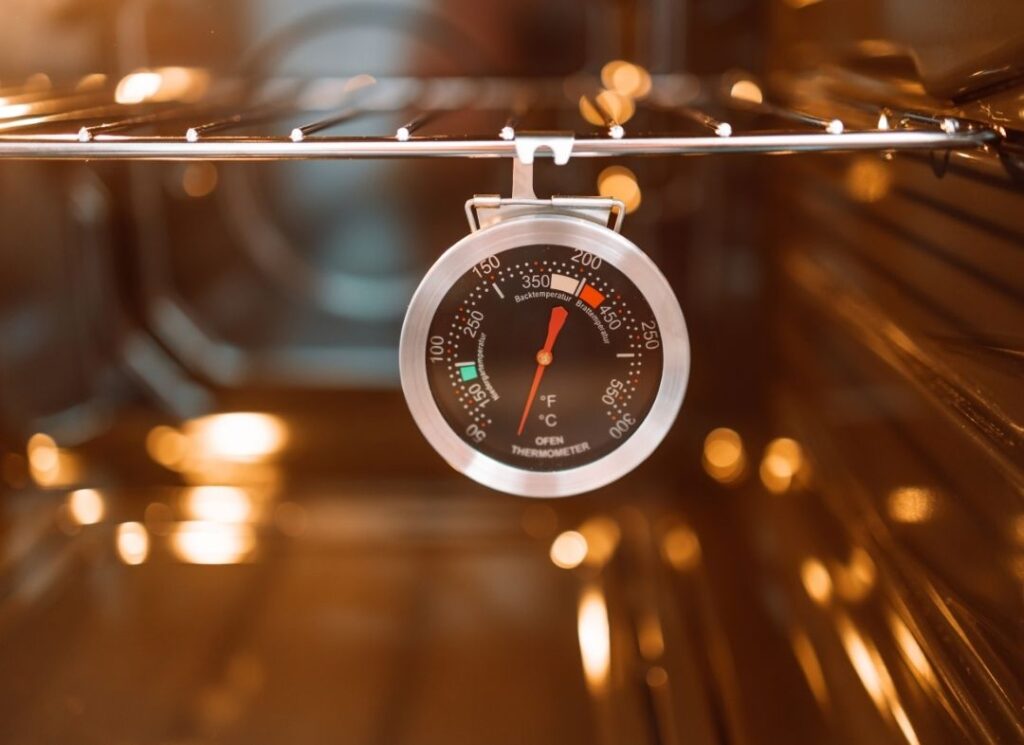
Symptoms of a bad oven temperature sensor can lead to various issues affecting the cooking performance. These symptoms include longer cooking durations, oven overheating, excessive temperature fluctuations during cooking, uneven cooking where some parts are burned while others remain raw, and meals cooking unevenly. Additionally, if the oven isn’t heating to the set baking temperature or if it’s too hot or not hot enough, it could indicate a malfunctioning oven temperature sensor. Testing the oven thermostat with an oven thermometer can help diagnose these issues accurately.

How do I know if my oven temperature sensor is broken?

When an oven temperature sensor is broken, it can result in inaccurate temperature readings that impact cooking performance. Common signs of a faulty oven temperature sensor include longer cooking times, overheating of the oven, inconsistent temperature during cooking, unevenly cooked meals with some parts burnt and others undercooked, and the oven not reaching the desired baking temperature

A gas oven is a staple in many households, offering quick and even heat for cooking and baking. But like any gas appliance, it can potentially be a source of danger if it is not properly maintained. Gas leaks can result from a variety of issues, from faulty connections to simple wear and tear over time.

To ensure your home is safe and your appliance lasts a long time, we’ve detailed 7 essential tips to properly maintain your gas oven and prevent dangerous leaks from happening

The Importance of Maintain Your Gas Oven

Regular maintenance of your gas oven is more than a chore; it’s a critical step in preserving the safety of your home and family. A well-maintained gas oven operates efficiently and safely, but undetected leaks due to negligence can lead to hazardous situations like fire or carbon monoxide poisoning. By following these tips, you’ll not only keep your kitchen center in top working order but also promote peace of mind in terms of safety.

Tip 1: Clean Regularly

The cleanliness of your gas oven is a significant factor in preventing gas leaks. Crumbs, spills, and oven grime can accumulate over time, leading to blockages that can interfere with the oven’s proper burning process. These blockages can, in severe cases, result in gas not combusting properly, leading to a buildup and potential gas leaks.

It’s imperative to remove these obstacles regularly by cleaning the burners, the inside surfaces, and the oven door to ensure gas flows unrestricted and fully combusts when ignited.

How to Clean Your Gas Oven Safely

  • Turn off the oven and allow it to cool completely.
  • Remove the burner caps and grates and clean with warm, soapy water.
  • Clean the burner tubes and igniter carefully to avoid damaging any components.
  • Use a wire hanger to clear any debris from the gas ports.
  • Wipe down the inside of the oven with a non-toxic cleaner, avoiding the heating elements.

By incorporating a cleaning routine, you can maintain a safe environment and extend the life of your gas oven.

Tip 2: Check Gas Connections

Monitoring gas connections is a crucial task to avoid leaks in your gas oven. Even a small leak in a gas line can lead to high gas levels in your home, creating a dangerous environment.

How to Check Your Gas Connections for Leaks

  • Mix dish soap with water and rub the solution onto the gas connections while the oven is off.
  • Turn on the gas and look for bubbles. If you see bubbles around the connection points, it indicates a leak.
  • Tighten any loose connections, but always consult a professional if you suspect a gas leak or are experiencing difficulty.

Remember, a gas leak at even a single valve can cause an explosion, so maintaining your gas oven.

Tip 3: Proper Ventilation and Maintain Your Gas Oven

A gas oven requires proper ventilation to operate safely. Adequate airflow guarantees the proper venting of harmful gases, such as carbon monoxide, out of the home. If the ventilation system is blocked, even partially, it can cause the escape of these dangerous gases into your living space.

oven ventilation

Be mindful not to block the oven vents with pots, pans, or any other items. Regularly check to ensure nothing is obstructing the airflow to prevent the accumulation of unsafe levels of gas that can potentially leak out.

Tip 4: Professional Inspection

No one knows maintain your Gas Oven better than a professional. It’s recommended to schedule an annual inspection by a licensed technician to identify and address any potential issues before they escalate.

During these inspections, professionals can survey the condition of the entire oven, including the gas lines, igniter, and thermostat, ensuring that everything is in proper working order and there are no signs of leaks.

Tip 5: Monitor Gas Smell

The distinct odorant added to natural gas is an essential safety feature. If you smell gas, act immediately; do not ignore it or assume it’s a temporary issue. The smell of gas is often likened to the scent of rotten eggs. This smell is your signal to take immediate action by:

  • Turning off the gas supply to the oven.
  • Open windows and doors to ventilate the area.
  • Evacuate the building and call your gas supplier from a safe distance away.
  • Wait until a technician has verified that there’s no longer a risk before returning to your home.

Tip 6: Avoid DIY Repairs

While DIY projects can be rewarding and cost-effective, gas oven repairs should always be left to the professionals. Gas is a highly explosive substance, and any mistake during a repair attempt can result in a gas leak or fire hazard.

oven repair

There are many components to a gas oven, and a misstep in the repair process can lead to serious, potentially life-threatening consequences. Save yourself the risk and call your technician for even what may seem like a minor adjustment. Safety, here, is paramount.

Tip 7: Emergency Protocol

Every household with a gas oven should establish a clear emergency protocol in the event of a suspected gas leak. Your emergency plan should include:

  • Knowing where the gas shut-off valve is located and how to turn it off.
  • Having a gas leak detection device and knowing how to use it.
  • Having an emergency contact list that includes your gas supplier’s number and local emergency authorities.
  • Practicing regular fire drills to ensure everyone knows the evacuation plan.

If you smell gas or suspect a leak:

  • Do not light matches, turn on lights, use the phone, or use any electrical devices that can create sparks.
  • Shut off the gas valve immediately.
  • Evacuate your home and call for help from a neighbor’s phone or a cellphone outside your home.

Remember, in an emergency, safety should always come first. Do not attempt to locate the leak yourself if you are not trained to do so.

Conclusion

Maintaining your gas oven appliances is an important responsibility for the safety and well-being of your home and those within it. By following the guidelines listed above, you can ensure your gas oven remains a reliable, safe, and long-lasting asset to your kitchen.

Consistently following these tips will not only prevent leaks but also maintain the health of the oven’s various parts. A well-kept oven operates more efficiently and has a longer life span, saving you money on repairs and replacements in the long run.

In the unlikely event of a gas leak, remember to take the necessary precautions and act swiftly and decisively according to your emergency plan. Safety is a collective effort, and with these tips, you can confidently enjoy the benefits of a well-maintained gas oven.

FAQs

What should I do if I suspect a gas oven leak?

If you suspect a gas oven leak, it’s important to immediately turn off the oven, open windows and doors to ventilate the area, and evacuate the premises. Do not use any electrical devices or create any sparks, and contact your gas provider or emergency services for assistance.

What are some signs of a gas oven leak?

Some signs of a gas oven leak include a rotten egg smell, hissing or whistling noises near the oven, and visible damage to the gas line or connectors. It’s important to address these signs immediately to prevent any potential dangers.

Masterclass cookware has gained immense popularity for equipping home cooks and aspiring chefs with top-tier kitchen essentials. When it comes to versatility, one question that often arises is whether this esteemed cookware collection can handle the oven’s heat. This comprehensive guide will explain why and when it is safe to pop your Masterclass cookware in the oven, tips for seamless oven cooking, and the delicious recipes you can create.

cooker king mnIZdwhVhII unsplash min

Understanding Masterclass Cookware

Before we explore its oven suitability, it’s important to know that Masterclass cookware is renowned for its diversity and is designed to cater to various cooking techniques and preferences.
The Properties

The Properties

Masterclass cookware is frequently lauded for its durability, heat conduction ability, and innovations in ergonomic design. Materials often include aluminum and stainless steel for their even heat distribution and resistance to warping.

Materials Matter

Stainless steel and hard-anodized aluminum are popular choices for Masterclass cookware due to their strength and ability to maintain integrity at high temperatures. Always check the specific material and coating of your cookware before oven use.

Oven Safety Guidelines

No matter how experienced you are in the kitchen, it’s critical to comprehend the safety precautions when using an oven.

person breaking egg into heart mold pan min

Temperature Limits

Masterclass cookware comes with recommended temperature limits, and exceeding these can result in warping, loss of non-stick coating efficacy, and even release harmful fumes from overheating. It’s crucial to be aware of these limits.

The Risks

Using non-oven-safe cookware in the oven can be hazardous. Beyond the potential damage to the cookware itself, it can also cause harm to your oven or, in extreme cases, lead to kitchen fires. Always err on the side of caution and review the manufacturer’s guidelines meticulously.

Manufacturer’s Recommendations

Follow the manufacturer’s instructions to protect the quality and safety of your Masterclass cookware. Information on safe oven use can typically be found in the user manual or directly from customer service.

Benefits of Oven-Safe Cookware

Investing in oven-safe Masterclass cookware extends your culinary capabilities.

Enhanced Versatility

Oven-safe cookware enables chefs and home cooks to transition dishes from stovetop to oven seamlessly, broadening the array of recipes one can execute. This versatility is especially crucial for dishes that require precise temperature control or benefit from finishing in the oven for that perfectly crisp top or a succulent, slow-cooked tenderness. Masterclass oven-safe cookware not only simplifies the cooking process but also supports creative experimentation in the kitchen, allowing for exploring diverse culinary techniques.

professional employees kitchen workers is together preparing food min

Ease of Use and Cleaning

Oven-safe cookware often has fewer components compared to separate bakeware, meaning less clean-up and a more straightforward cooking experience. Masterclass cookware can also result in more consistent results when using fewer variables.

Cooking Tips and Recipes

Now that we’ve established the safety and benefits of using your Masterclass cookware in the oven, it’s time to whip up some culinary magic.

Oven-Safe Cooking 101

When utilizing your Masterclass cookware in the oven, preheat it according to the recipe for the best results. Be sure to use oven mitts when handling hot cookware, and always place them on a heat-resistant surface when removed from the oven.

baking dish with apple pie stands black oven homemade seasonal bakery min

Delicious Dishes to Try

From hearty casseroles and gratins to tender roasts, there is no shortage of delectable recipes you can create in the oven with your Masterclass cookware. Experiment with roasting vegetables using your non-stick skillet, or make a savory pie in your oven-safe pot to impress your dinner guests.

Conclusion

Mastering the art of oven cooking with your Masterclass cookware can be a game changer in your kitchen. It offers convenience, versatility, and the chance to easily craft gourmet dishes. By understanding the safety guidelines, benefits, and tips provided in this guide, you’re equipped to explore the world of oven cooking confidently and creatively.
Whether treating yourself to a simple baked good or hosting a grand feast, your oven-safe Masterclass cookware is a reliable companion ready to elevate your every cooking adventure. Remember, the key to safe and successful oven use with any cookware is knowledge, care, and a pinch of your personal culinary flair. Enjoy the process, respect the temperature, and savor the delicious outcomes of your oven-borne creations!

The Inner Workings of a Dishwasher: A Mechanistic Marvel

The Dishwasher Mechanism in Action

Water In, Heat On

Dispensing Agents

The Power of Circulation

control image

Draining Drama

Cleaning with Precision

Proactive Maintenance

Cost-Efficiency

Emerging Spotless and Wiser from the Dishwashing Drama

Understanding the Mechanics of a Dishwasher

Deconstructing the Dishwasher

How Does a Dishwasher Mechanism Work?

Water Intake and Heating Process

Detergent and Rinse Aid Dispensing

clean
topntp26 on freepik

Sprayer Arms and Water Circulation

Drainage System and Drying Process

Benefits of Understanding Dishwasher Mechanics

Efficient Cleaning Results

Troubleshooting and Maintenance Tips

dish rak

Cost-Effective Usage and Prolonging the Lifespan

Conclusion

The importance of having a copper sharp knife in the kitchen cannot be understated. A dull knife not only slows down your food preparation but can also result in accidents due to slips and excessive force. When it comes to copper chef knives, their unique composition requires specific sharpening techniques to maintain their exceptional performance. In this comprehensive guide, we will take you through the step by step process sharpen copper chef knives to ensure they remain razor sharp and deliver precise cuts every time.

Section 1: Understanding Copper Chef Knives

Copper chef knives have gained popularity amongst professional chefs and home cooks alike due to their superior heat conductivity and sharp blade edges. Understanding the unique characteristics of copper chef knives before diving into the sharpening process is essential.

Important Points to Note:

  • Copper chef knives typically have a high carbon content, making them harder than conventional stainless steel knives.
  • Their blades are more prone to wear and require regular maintenance to maintain their exceptional sharpness.
  • Copper chef knives should be sharpened with care to avoid damaging the knife’s delicate cutting edge.

Section 2: Gathering the Sharpening Tools

Before embarking on the sharpening process, it is crucial to assemble the necessary tools. Having the right sharpening tools ensures the best possible results and helps preserve the longevity of your copper chef knives.

Essential Tools for Sharpen Copper Chef Knives:

  1. Whetstone: A high quality whetstone with a grit range between 1000 and 3000.
  2. Honing Guide: A honing guide helps maintain a consistent angle while sharpening.
  3. Leather Strop: A leather strop is used for the final stage of sharpening to refine the knife edge.
  4. Towel or Cloth: Use a towel or cloth to clean the knife before and after sharpening.

Pro Tip: Investing in a high quality whetstone and honing guide pays off in the long run, as they provide precise control and optimal results.

Section 3: Step by Step Sharpening Guide

Now that you have gathered the necessary tools, let’s dive into the step by step process of sharpening copper chef knife, ensuring it remains razor-sharp for your culinary adventures.

Step 1: Prepare the Whetstone

  • Soak the whetstone in water for 10-15 minutes to ensure proper lubrication during the sharpening process.
  • Place a damp towel beneath the whetstone to prevent slippage.

Step 2: Set the Honing Guide

  • Adjust the honing guide according to your knife’s bevel angle, typically between 15-20 degrees.
  • Ensure the honing guide is securely attached to the blade to maintain a consistent angle throughout the sharpening process.

Step 3: Start Sharpening

  • Hold the knife handle firmly and place the blade against the whetstone, ensuring the proper bevel angle.
  • Apply light pressure and move the knife across the stone in a sweeping motion, starting from the base of the blade towards the tip.
  • Repeat this several times on each side, maintaining a steady angle, and periodically monitor your progress.

Step 4: Test the Sharpness

  • Carefully wipe off any residue from the blade and test its sharpness by gently slicing through a piece of paper or tomato skin.
  • If the knife fails to glide effortlessly or leaves jagged edges, repeat the sharpening process until the desired sharpness is achieved.

Expert Tip: Always prioritize maintaining a consistent angle and be patient. Rushing the sharpening process may result in uneven edges.

Conclusion:

Properly sharpening your copper chef knives is an essential skill for any culinary enthusiast. By following the step by step guide outlined in this article, you can ensure your copper chef knives remain razor sharp and ready to tackle any culinary challenge. Remember, regular maintenance and sharpening will not only enhance the performance of your copper chef knives but also ensure your safety in the kitchen.

Now, go ahead and unleash your culinary creativity with the precision and efficiency of a perfectly sharpened copper chef knife!